
Few things induce panic quite like running a routine dnf update or apt upgrade, typing reboot, and watching your ping requests time out indefinitely. Your dedicated server, which was running perfectly minutes ago, is suddenly offline.
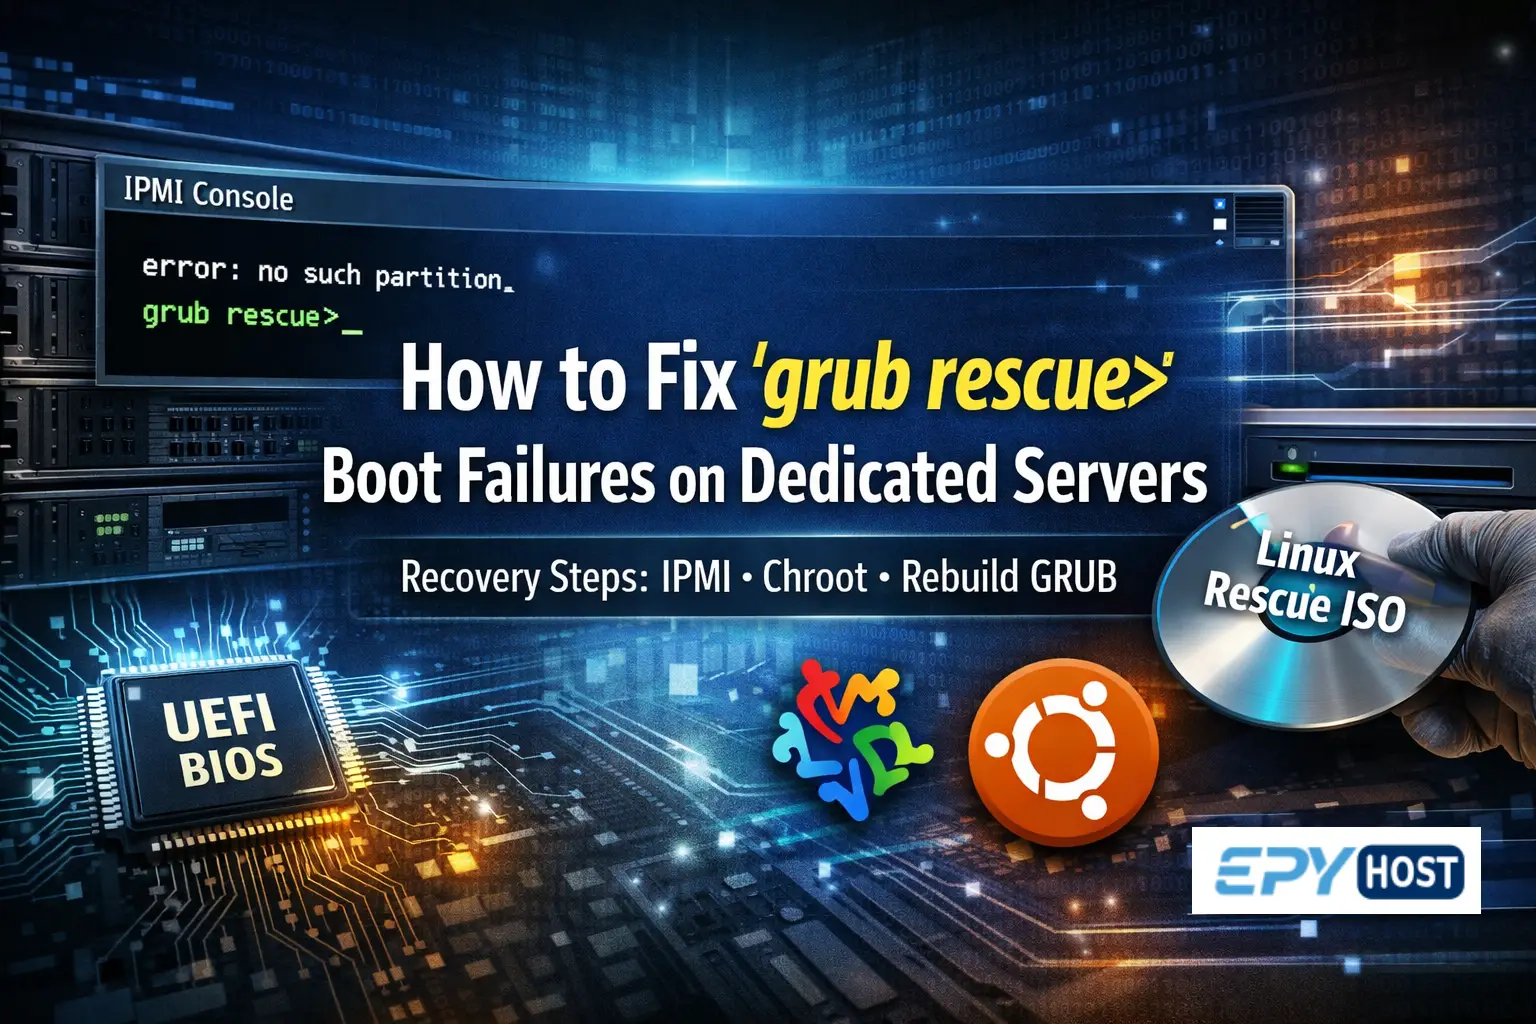
When you log into your server's Out-of-Band management console (IPMI, iDRAC, or KVM) hoping to see the standard login prompt, you are instead greeted by a stark black screen, an error: no such partition message, and the universally dreaded prompt:
grub rescue>
Take a deep breath. Your data is almost certainly still there, and your server is not physically broken.
This error simply means that the Grand Unified Bootloader (GRUB)—the tiny program responsible for loading your Linux kernel into memory—has lost its way. It loaded its very first stage, but it cannot find the rest of its configuration files or the /boot partition where your operating system lives. This usually happens when a kernel update gets interrupted, a partition table is slightly modified, or the UUID of a disk changes.
In this comprehensive, step-by-step tutorial, we will walk you through the definitive process of recovering your dedicated server. We will cover how to use EPY Host's IPMI/KVM console to mount a recovery ISO, how to securely chroot into your broken operating system, and how to permanently rebuild the GRUB bootloader for both UEFI and Legacy BIOS systems.
What You'll Learn
Phase 1: Understanding the Tools and Preparation
Phase 2: Mounting the ISO via IPMI and Booting
Phase 3: Identifying Your Partitions
Phase 4: Building the "chroot" Jail
Phase 5: Rebuilding and Reinstalling GRUB
Phase 6: The Final Check – Verifying /etc/fstab
Phase 7: Clean Unmount and Reboot
Preventing Future GRUB Failures
Conclusion
Phase 1: Understanding the Tools and Preparation
Before we start typing commands, it is crucial to understand how we are going to fix this. Because your server's primary operating system cannot boot, we must boot the server using a temporary, secondary operating system. From there, we will "break into" your broken OS and repair it from the inside.
What You Will Need:
-
IPMI/KVM Access: You must have access to your server's Out-of-Band management panel. At EPY Host, this is provided in your client portal.
-
A Rescue ISO: You will need an ISO file of the Linux distribution you are running. If you run AlmaLinux 9, you need the AlmaLinux 9 Minimal or Boot ISO. If you run Ubuntu 22.04/24.04, you need the Ubuntu Live Server ISO.
-
Patience: Booting over virtual media can be slow depending on your local internet connection. Do not interrupt the process once it begins.
Phase 2: Mounting the ISO via IPMI and Booting
To bypass the broken GRUB bootloader on your hard drive, we must force the server to boot from a virtual CD-ROM.
Step 1: Launch the Virtual Console
Log in to your EPY Host IPMI portal. Navigate to the Remote Control or KVM Console section and launch the HTML5 or Java console. You should see your server's screen (currently stuck on grub rescue>).
Step 2: Mount the Virtual Media
In the KVM console window, locate the Virtual Media tab at the top.
Click Virtual Media -> Virtual Storage.
Select Logical Drive Type: ISO File.
Click Open Image and select the Linux ISO you downloaded to your local computer.
Click Plug in and then OK. The ISO is now "inserted" into your dedicated server's virtual CD drive.
Step 3: Force a Reboot into the BIOS/Boot Menu
Use the Power Control menu in your IPMI interface to issue a Reset Server or Power Cycle command.
As the server reboots and the motherboard manufacturer's logo appears (e.g., Supermicro, Dell, HP), rapidly press the key to enter the Boot Menu (usually F11 or F12).
When the boot menu appears, select the Virtual CD-ROM or Virtual DVD option (ensure it is the UEFI virtual CD-ROM if your server uses UEFI, which is standard for all modern NVMe servers).
Step 4: Enter Rescue Mode
For AlmaLinux/RHEL/CentOS: When the ISO boot menu appears, select Troubleshooting, and then select Rescue a CentOS/AlmaLinux system. Choose option 1 to continue, which will mount your broken system under
/mnt/sysimage.For Ubuntu/Debian: Boot the Live Server environment. When the installer asks you to choose a language and keyboard, proceed until you see the option to Enter Shell or simply press Ctrl + Alt + F2 to drop into a root terminal shell.
Phase 3: Identifying Your Partitions
You are now sitting at a root prompt (e.g., root@ubuntu:~# or sh-5.1#). The operating system you are currently using is running entirely in your server's RAM. We need to find your actual physical hard drives.
Run the lsblk command to list all block devices:
lsblk
Your output will look something like this for an NVMe server:
NAME        MAJ:MIN RM  SIZE RO TYPE MOUNTPOINT
loop0         7:0    0  1.5G  1 loop /run/rootfs
nvme0n1     259:0    0  1.8T  0 disk
├─nvme0n1p1 259:1    0  512M  0 part
├─nvme0n1p2 259:2    0    1G  0 part
└─nvme0n1p3 259:3    0  1.8T  0 part
(Note: If you are using SATA SSDs, your drive will be labeled sda instead of nvme0n1.)
You need to identify three critical partitions based on their size:
The EFI Partition (nvme0n1p1): Usually between 200MB and 512MB. This holds the UEFI boot files.
The Boot Partition (nvme0n1p2): Usually around 1GB. This holds the Linux kernel. (Note: Some Ubuntu installations combine Boot and Root, so you might only have two partitions).
The Root Partition (nvme0n1p3): The largest partition (1.8TB in this example). This is where your OS files (
/etc,/var,/home) live.
Phase 4: Building the "chroot" Jail
We cannot fix GRUB from the Live CD's environment. We must use a command called chroot (change root) to trick the terminal into thinking that your broken hard drive is the active operating system. To do this, we must carefully mount your partitions in a specific order.
(Note: If you used the AlmaLinux automated rescue environment, it may have already mounted your system at /mnt/sysimage. You can skip to Step 5 if so. For manual mounting on Ubuntu/Debian, follow these steps exactly).
Step 1: Mount the Root Partition
Create a temporary mount point and mount your largest partition:
mkdir -p /mnt/rescue
mount /dev/nvme0n1p3 /mnt/rescue
Step 2: Mount the Boot and EFI Partitions
Next, mount the boot partition inside the newly mounted root partition.
mount /dev/nvme0n1p2 /mnt/rescue/boot
If your server uses UEFI (highly likely), mount the EFI partition as well:
mount /dev/nvme0n1p1 /mnt/rescue/boot/efi
Step 3: Bind Mount the Virtual Filesystems
GRUB needs access to the server's physical hardware (like the CPU and RAM) to reinstall itself. We grant this access by binding the Live CD's virtual filesystems to your broken OS's mount point. Run these commands exactly as written:
mount --bind /dev /mnt/rescue/dev
mount --bind /dev/pts /mnt/rescue/dev/pts
mount --bind /proc /mnt/rescue/proc
mount --bind /sys /mnt/rescue/sys
mount --bind /run /mnt/rescue/run
Step 4: Enter the chroot Environment
Now, transport yourself into the broken operating system:
chroot /mnt/rescue
Your terminal prompt will change. You are now "inside" your broken server. Any command you type now directly affects your NVMe drives, not the Live CD.
Phase 5: Rebuilding and Reinstalling GRUB
The exact commands to fix GRUB depend heavily on which Linux distribution you are running. Follow the section that matches your server's OS.
Scenario A: AlmaLinux 9 / Rocky Linux / RHEL / CentOS
Red Hat-based systems utilize the dnf package manager and have specific paths for their UEFI files.
-
Reinstall the GRUB packages: Sometimes the GRUB binaries themselves become corrupted. Force a clean reinstall of the bootloader packages and the UEFI shim:
Bashdnf reinstall grub2-efi-x64 shim-x64 grub2-tools -
Rebuild the GRUB Configuration File: Now, we must tell GRUB to scan the hard drive, find the Linux kernels, and generate a brand-new configuration file. For UEFI systems, the configuration file is usually stored in
/boot/grub2/grub.cfg.Bashgrub2-mkconfig -o /boot/grub2/grub.cfgYou should see output indicating that the system found the Linux images (
Found linux image: /boot/vmlinuz-...).(Note: On older CentOS 7 systems with UEFI, the output file path is
/boot/efi/EFI/centos/grub.cfg. However, on AlmaLinux 8 and 9, standardizing on/boot/grub2/grub.cfgis the correct, modern approach). -
Reinstall GRUB to the Disk (Legacy BIOS ONLY): If you are running an older server that does not use UEFI (you don't have an EFI partition), you must install GRUB to the Master Boot Record (MBR) of the disk itself (not the partition).
Bashgrub2-install /dev/nvme0n1
Scenario B: Ubuntu 22.04 / 24.04 / Debian
Debian-based systems handle GRUB slightly differently, heavily relying on the apt package manager and dpkg-reconfigure.
-
Reinstall the GRUB packages: Ensure the UEFI GRUB packages are properly installed and not corrupted.
Bashapt-get update apt-get install --reinstall grub-efi-amd64 -
Install GRUB to the Disk: Tell GRUB to write its bootloader files into the mounted EFI partition. Make sure you point it to the main disk (
/dev/nvme0n1or/dev/sda), not a specific partition number.Bashgrub-install /dev/nvme0n1If successful, the terminal will return:
Installation finished. No error reported. -
Update the GRUB Configuration: Finally, generate the boot menu entries so GRUB knows which kernel to load.
Bashupdate-grubYou will see output showing that it found your
vmlinuzandinitrd.imgfiles.
Phase 6: The Final Check – Verifying /etc/fstab
Before we pack up and reboot, there is one critical component that often causes the grub rescue> error: a mismatched UUID.
When your server boots, it looks at a file called /etc/fstab (File System Table) to know which partitions to mount. If a partition was resized or a drive was swapped, the UUID (the unique string of characters identifying a partition) changes. If GRUB tries to boot a UUID that no longer exists, it crashes.
While still inside the chroot environment, compare your current partition UUIDs with the ones listed in your fstab.
First, get the current, correct UUIDs:
blkid
You will see output like: /dev/nvme0n1p3: UUID="1234abcd-56ef-78gh-90ij-klmnopqrstuv" TYPE="ext4"
Next, view your fstab file:
cat /etc/fstab
Look at the UUID listed for / and /boot. If the UUIDs in /etc/fstab do not perfectly match the output of the blkid command, you must edit the /etc/fstab file using nano or vi and paste the correct UUIDs.
Phase 7: Clean Unmount and Reboot
You have successfully rebuilt the bootloader. Now, we must safely exit the environment and unmount the virtual filesystems to prevent data corruption.
-
Exit the chroot jail:
BashexitYour prompt will return to the Live CD's root environment.
-
Unmount the filesystems: Unmount everything we bound earlier, in reverse order:
Bashumount /mnt/rescue/run umount /mnt/rescue/sys umount /mnt/rescue/proc umount /mnt/rescue/dev/pts umount /mnt/rescue/dev umount /mnt/rescue/boot/efi umount /mnt/rescue/boot umount /mnt/rescue -
Eject the Virtual Media: Go back to your IPMI KVM console window. Click Virtual Media -> Virtual Storage. Select your mounted ISO and click Plug Out to eject it. If you skip this step, the server will just boot back into the Live CD.
-
Reboot the Server: Type the final command:
BashrebootWatch the IPMI console carefully. Instead of the black
grub rescue>screen, you should see the standard GRUB menu appear for a few seconds, followed by the familiar scrolling text of your Linux kernel booting up. Within a minute, your dedicated server will be back online and fully accessible via SSH.
Preventing Future GRUB Failures
Having to perform an IPMI boot recovery is a stressful experience. To minimize the chances of this happening again:
-
Avoid Interrupting Kernel Updates: The most common cause of a broken GRUB is a loss of SSH connection or an accidental reboot while the system is running
update-initramfsor installing a new kernel package. Always let package managers finish their tasks. -
Be Careful with Disk Partitioning: If you are adding secondary storage drives or resizing an LVM (Logical Volume Manager), double-check that you are operating on the correct drive. Accidentally overwriting the partition table of
/dev/nvme0n1instead of/dev/nvme0n2will instantly destroy the bootloader. -
Regularly Test Out-of-Band Access: Do not wait for a catastrophic failure to test your IPMI/KVM access. Periodically log into your EPY Host portal and ensure the Java/HTML5 console launches correctly, so you are familiar with the interface during an actual emergency.
Conclusion
Recovering a broken bootloader requires precision, but it is a highly reliable fix. By understanding how partitions mount and how the chroot environment bridges the gap between a Live CD and your bare-metal drives, you regain complete control over your server's hardware.